I’ve been fortunate to work with Bill Turkel at his Lab for Humanistic Fabrication over the past few months. In particular, I’ve been building and using a 3D printer to explore how making things can complement my research. I’m working there over the summer, and will update some of what I have been doing on my blog.
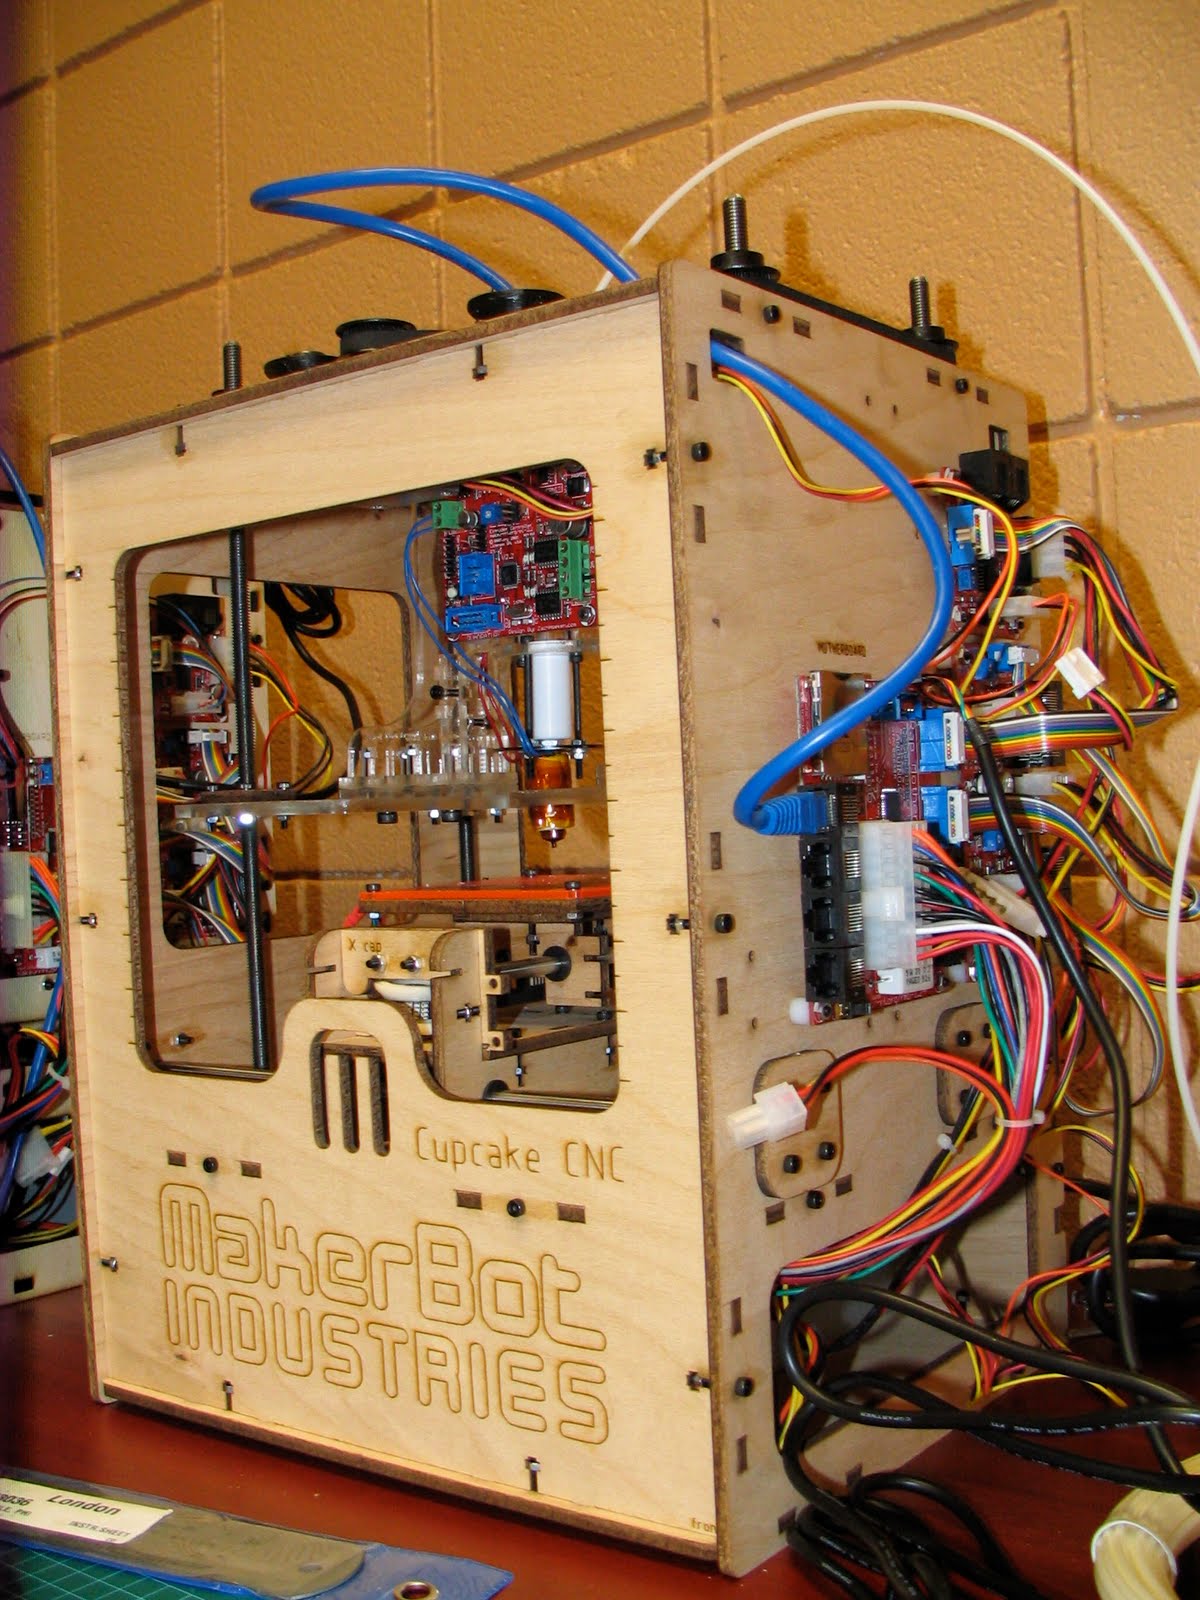
To begin with, here’s the 3D printer I’ve been using. It’s a Makerbot (#363). Fancier commercial 3D printers are available, but are still relatively expensive compared to the Makerbot. The caveat to purchasing a Makerbot, though, is that you have to build it yourself.
That might sound daunting, but the folks at Makerbot Industries have created a well-designed machine, and their wiki provides excellent build instructions. The deluxe kit has everything you need to put one together – materials and tools – and I got the whole thing together in a few days of focused assembly.
Plastic filament (it’s like a cord of plastic 2-3 mm in diameter) goes into the top of the extruder, a motor controlled by the computer feeds it downward into a tube that is heated under the control of the computer. The tube is heated to the melting point of the plastic, and the feed forces it out a very small nozzle at the end of the extruder. The plastic is piped out in a very thin stream that immediately begins to cool and harden.
The final print is limited in dimensions to roughly 100mm x 100mm x 130mm (4” x 4” x 6”). It is built from the bottom of the platform up, one layer at a time. The size limitations mean that any larger objects will have to be divided into smaller pieces, and those pieces assembled after they are printed.
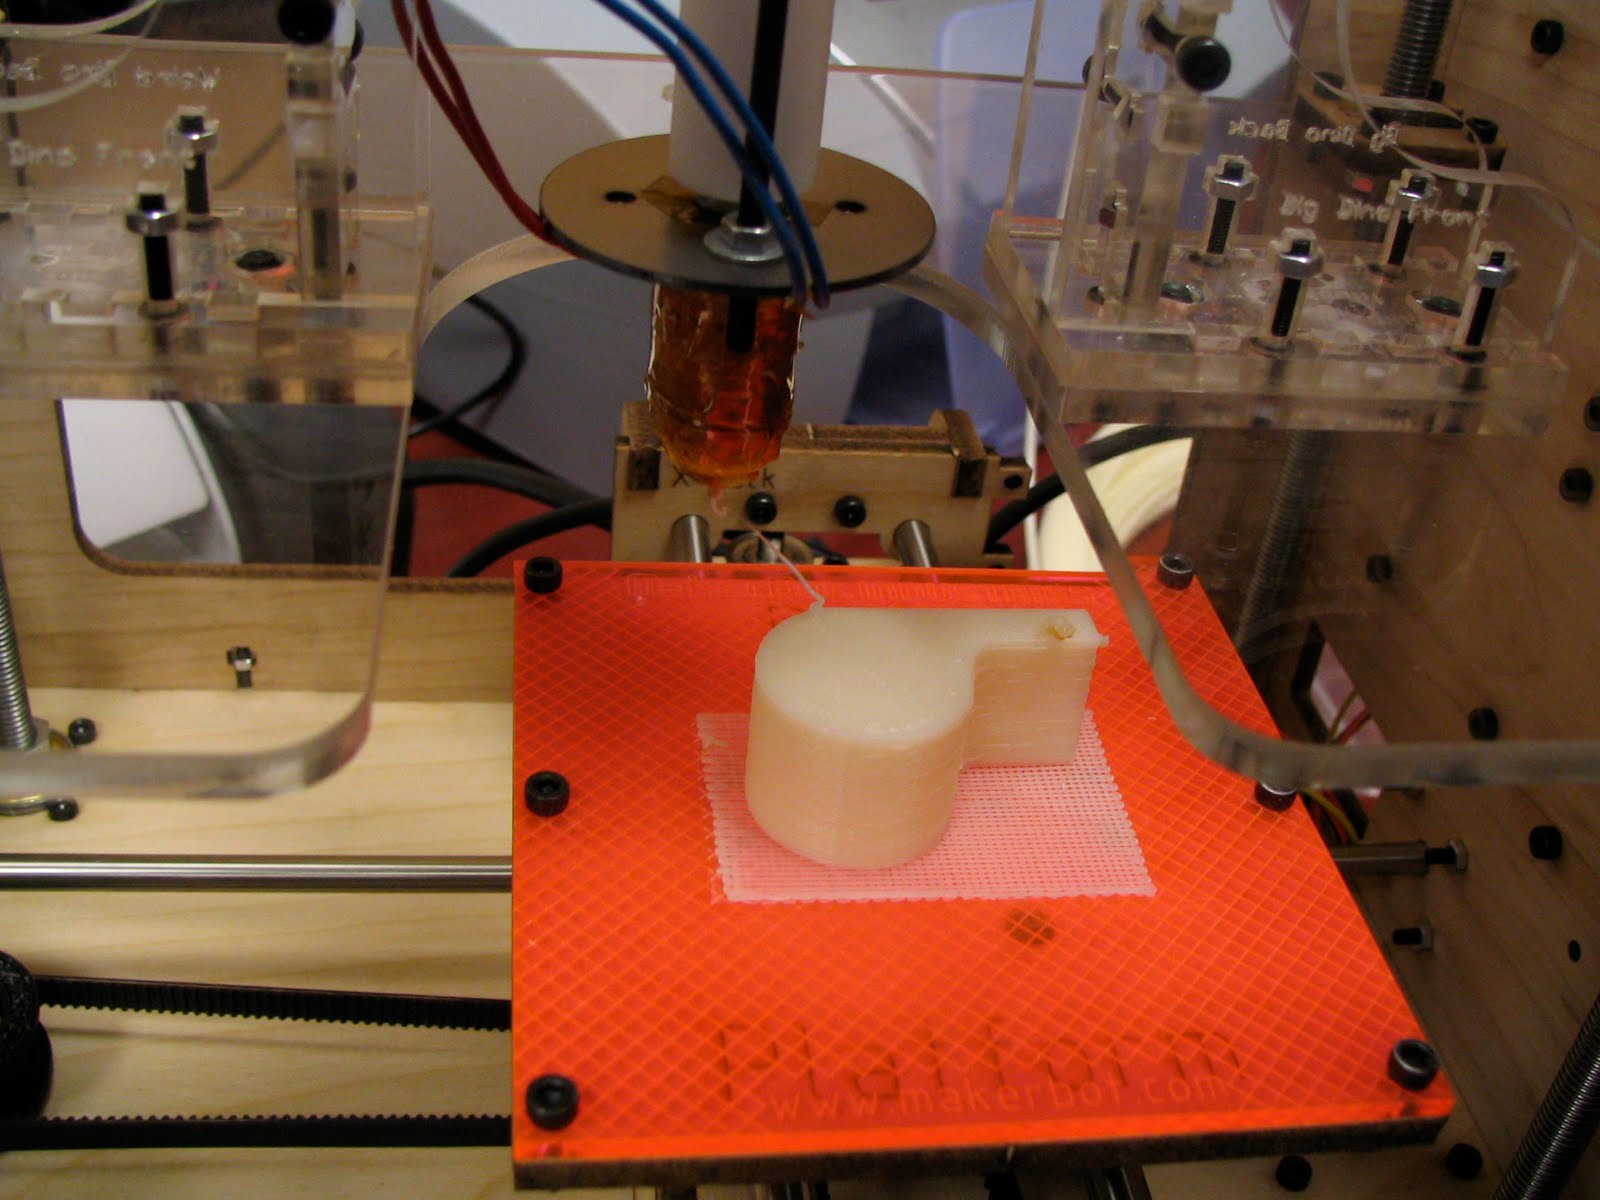
I downloaded the file, warmed up the Makerbot, and hit the build button. It didn’t work right off the bat. I had to adjust the start height a couple of times in order to get the raft to stick to the build platform. A raft is a series of plastic strips printed to use as a uniform base for the object. Once the raft stuck, the piece built up for about half-an-hour until the whistle was finished.
After removing the piece from the build platform, the raft snapped off easily from the whistle. It looked good, with only a bit of plastic trailing on the end that need to be trimmed off. It even whistled!
This initial test confirmed that the printer was working. The functioning whistle added a fun sonic experience to the results. If it can make a 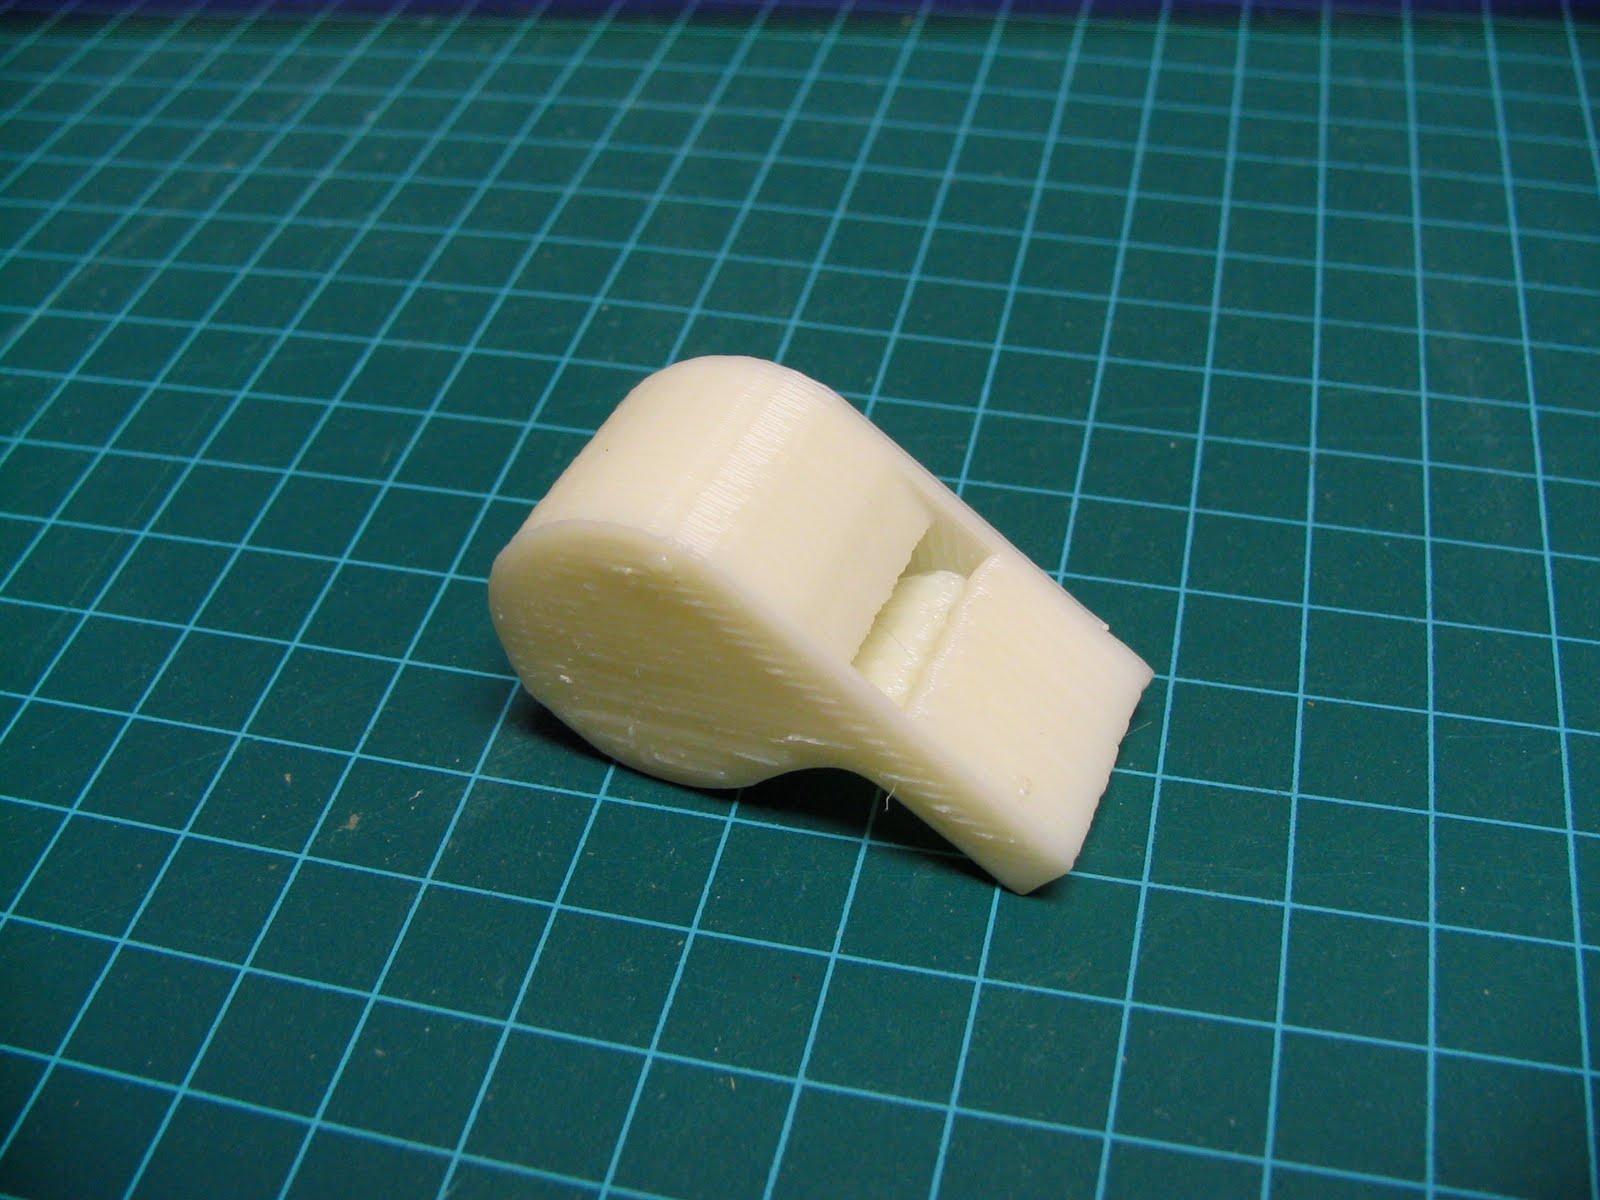 whistle, are there other noise-makers that could be made? Maybe some small instruments, like some old ocharina designs… Or, maybe some pipes in the style of old Wurlitzers or busker organs… When one of my colleagues saw and tried the whistle, she was reminded of a scene from Jurassic Park where a device replicated the sound a dinosaur made. As personal fabrication becomes more accessible, maybe we’ll be able to make devices that attempt to create a sense of sounds of the past.
2 comments:
Some manufacturers offer valued added services to customers who have ordered extruded plastic profiles. Free consultation can be the order of the day. Actually, customers can be allowed to inquire about any issue related to the project. Also, free warranty can be given and in some cases the manufactured goods are transported to the client without the customer in question paying any cent.
• With Keller Products, value added services to expect includes inexpensive prototyping, stoking and inventory programs and 48 hours delivery of items ordered as a result of rapid prototyping.
With Kelly Products, you will definitely have all the reason to choose this company. Our products come at reasonable prices and we give you the prerogative to choose the kind of form, size and color that you need. We also produce your profiles with sophistication and glamor which sets us apart from Plastic Extrusion Manufacturers. We produce extrusions using various plastic materials and we do combine them with other materials available like wood composites that contribute to their durability. During the process, we keep you updated so that you don’t miss out on every detail of the project we’re working. We also use materials that are non-hazardous to anyone’s health and to the environment as well. We do not stick with what is usual. We make innovations so as to get the most out of the materials we utilize. Last but not the least, we make extrusions that are extremely versatile. With your set preferences, we are capable of producing different extrusions with varying thickness, size, texture, color and hardness.
Post a Comment