While researching historical topics, I love it when I come across plans for how things work, or explanations of how to make things. Old patents, instruction sheets, blue prints, and articles in magazines like Popular Mechanics. Google has made some of these sources more readily available through their services.
When the back catalogue of Popular Science became available via Google, I immediately began to look for old issues that explained magic tricks. An issue in 1944 had a small section on magic tricks that one could make, and the plans included diagrams with measurements. In particular, one puzzle toy stood out -- a cone that seemed to roll uphill.
The object was simple enough, and the details explicit enough, that it seemed to be something that would make a good test with the Makerbot. How easily would it be to take the full plans for something, and materialize them into a physical thing?
I turned to Google SketchUp to build virtual designs of the object. In order to print one, I had to take the limits of the Makerbot into mind. The build platform is only roughly 4x4x6 inches, and the ramp was larger than that. The geometry of the whole thing also seemed like too much to print, so I set about breaking the piece up into the most basic components. Due to the symmetry of the piece, only three parts were necessary: a cone, and two sides of the ramp.
For me, one of the strengths of Google SketchUp is being able to input actual measurements, and have the program adjust a component being made to that size. I had to convert the imperial measurements to metric, but was then able to draw each of the parts, and form them into objects in SketchUp. I exported the files as STL format, and set began to print them.
The first problem I ran into was that the length of the ramp portions were at the diagonal limits of the build platform. Building a raft for it in Skeinforge covered the entire build platform, and the extruder head ran into the bolts holding it together. It made a pretty bad sound -- not what you want to hear while printing. Adjustments to the Skeinforge settings fit it all onto the platform, but the next issue was warping.
ABS shrinks about 2% from when it is hot for extrusion to a cooled state. As the layers build, each shrinking 2%, this causes the piece to bend upwards from the edges. The thin bases popped off a few times due to warping. The company behind the Makerbot released a heated build platform that appears to eliminate the warping.
Eventually, I was able to get all six pieces printed, and was surprised at the consistency of the warping. I stuck them all together -- the two cones with double-sided tape, and some clay was nearby for the ramp. I set the cone on, and it rolled up the hill. Success!! The files are posted at Thingiverse, along with a photo.
While neat to look at, I was mostly wondering about what other sorts of plans could be used as the raw data for objects. Plans for things exist in a variety of sources, and it is getting easier to both digitize that data, and to materialize it in some form.
Tuesday, September 28, 2010
Tuesday, May 25, 2010
From Bits to Atoms
One of the advantages of 3D printers like the Makerbot is that it allows you to go from virtual, computer-generated models to real, physical objects. With some initial success in printing out an object, I was curious what other virtual forms I could print. Thingiverse is an excellent repository or user-generated content specifically for making things. Google also has a 3D Warehouse of virtual things.
The Google 3D Warehouse is a publicly accessible repository of models generated by users of Google's 3D modeling software, SketchUp. The finest of these models have been added to Google Earth, where you can go 'see' those buildings virtually on the globe. The Google 3D Warehouse is therefore a source of many digital models of buildings. The contents are not limited to existing buildings, though, as users have also contributed all kinds of models, ranging from historic buildings that no longer exist to entirely fictional creations like sci-fi spaceships and weapons from Middle Earth. Pretty much anything can be modeled in Google SketchUp and then stored at the Google 3D Warehouse.
To explore the capabilities of the Makerbot, I decided to try to print a scaled-down model of the CN Tower. It would be an example of going from Google SketchUp model to a physical model, and the tower design would demonstrate the Makerbot's ability to print a tall, thin tower. I found a model with a search on Google's 3D Warehouse, and opened it in SketchUp.
It was designed according to the actual dimensions of the CN Tower, but another benefit of digital models is that they are easily scalable and the proportions can be kept constrained. SketchUp features a scale tool for easily altering the size of a model. I couldn't get Google SketchUp to go straight from CN Tower-size to Makerbot-size, but I got there in multiple steps of scaling the model. Eventually, I got it down to around 11cm in height. I cut the model into two parts, each of which would fit in the build space of the Makerbot.
To print on a Makerbot, a model has to go through a few steps to create the code that the printer will use to make the object. The file must be in .STL (stereolithography) format. That file type has all the surface geometry data of an object. Google SketchUp doesn't export that type natively, but there is an add-on that accomplishes that task. After installing that, I was able to easily export the two models each as STL files.
Another program called Skeinforge is used to create a gcode file that the Makerbot uses to print. Skeinforge runs in Python, and has many variables to customize the print job for your machine. It also can add a raft to the bottom of the object. The raft is a base layer of plastic that the object is printed on for a uniform build surface. It also adds stability in printing as the raft sticks to the build platform.
The gcode generated by Skeinforge is opened in ReplicatorG. This is the actual program that interfaces with the Makerbot. A control panel can be opened in ReplicatorG to control the Makerbot manually. The build platform and extruder can be moved. The extruder can be heated to a particular temperature, and the feed rate of the plastic filament can be run and tested. This is how you warm up the Makerbot to ensure it will print your object properly. You can also see the gcode created and scroll through the many steps that the printer will take to print your object. A simulation of the build can be run, and there's a build button for when you're ready to print an object.
 The two objects printed and I glued them together to form my scale model of the CN Tower. The towers printed better than I expected. The base formed fairly well, and the observation deck looks good. The top tower above the observation deck is very thin, and this formed but with quite a bit of wobbling due to the heat from the extruder being so near it as it built each new small level -- the printed parts never really cooled and didn't form properly. Still, it looks like a small CN Tower.
 I posted the files to Thingiverse in case anyone else wants to try it. There, others can change the files to suit their needs, or make changes to try make a better print. It's been downloaded a number of times, but I don't know if anyone else has tried printing it. A couple of users liked it, though.
User generated repositories of 3D models are great resources for fabrication. Many models are out there at sites like Thingiverse or Google's 3D Warehouse. What types of things can humanities scholars contribute to these sites? Making data available can allow others to experiment with their models, and play with physical objects related to their research.
As cultural and heritage institutions have directed resources toward the digitization of their collections, perhaps we can try to re-materialize elements of those collections locally for applied research and study. Digitization has often been in the form of digital photographs of objects, but 3D scanning technologies and virtual modeling software has become much more accessible. Hopefully digitization in museums, for instance, will move toward three dimensional digitization, as those forms will inherently record more physical information about objects. Open access to that data would allow researchers to experiment with those forms in a variety of ways, both in virtual and re-materialized physical forms.
The Google 3D Warehouse is a publicly accessible repository of models generated by users of Google's 3D modeling software, SketchUp. The finest of these models have been added to Google Earth, where you can go 'see' those buildings virtually on the globe. The Google 3D Warehouse is therefore a source of many digital models of buildings. The contents are not limited to existing buildings, though, as users have also contributed all kinds of models, ranging from historic buildings that no longer exist to entirely fictional creations like sci-fi spaceships and weapons from Middle Earth. Pretty much anything can be modeled in Google SketchUp and then stored at the Google 3D Warehouse.
To explore the capabilities of the Makerbot, I decided to try to print a scaled-down model of the CN Tower. It would be an example of going from Google SketchUp model to a physical model, and the tower design would demonstrate the Makerbot's ability to print a tall, thin tower. I found a model with a search on Google's 3D Warehouse, and opened it in SketchUp.
It was designed according to the actual dimensions of the CN Tower, but another benefit of digital models is that they are easily scalable and the proportions can be kept constrained. SketchUp features a scale tool for easily altering the size of a model. I couldn't get Google SketchUp to go straight from CN Tower-size to Makerbot-size, but I got there in multiple steps of scaling the model. Eventually, I got it down to around 11cm in height. I cut the model into two parts, each of which would fit in the build space of the Makerbot.
To print on a Makerbot, a model has to go through a few steps to create the code that the printer will use to make the object. The file must be in .STL (stereolithography) format. That file type has all the surface geometry data of an object. Google SketchUp doesn't export that type natively, but there is an add-on that accomplishes that task. After installing that, I was able to easily export the two models each as STL files.
Another program called Skeinforge is used to create a gcode file that the Makerbot uses to print. Skeinforge runs in Python, and has many variables to customize the print job for your machine. It also can add a raft to the bottom of the object. The raft is a base layer of plastic that the object is printed on for a uniform build surface. It also adds stability in printing as the raft sticks to the build platform.
The gcode generated by Skeinforge is opened in ReplicatorG. This is the actual program that interfaces with the Makerbot. A control panel can be opened in ReplicatorG to control the Makerbot manually. The build platform and extruder can be moved. The extruder can be heated to a particular temperature, and the feed rate of the plastic filament can be run and tested. This is how you warm up the Makerbot to ensure it will print your object properly. You can also see the gcode created and scroll through the many steps that the printer will take to print your object. A simulation of the build can be run, and there's a build button for when you're ready to print an object.
 The two objects printed and I glued them together to form my scale model of the CN Tower. The towers printed better than I expected. The base formed fairly well, and the observation deck looks good. The top tower above the observation deck is very thin, and this formed but with quite a bit of wobbling due to the heat from the extruder being so near it as it built each new small level -- the printed parts never really cooled and didn't form properly. Still, it looks like a small CN Tower.
 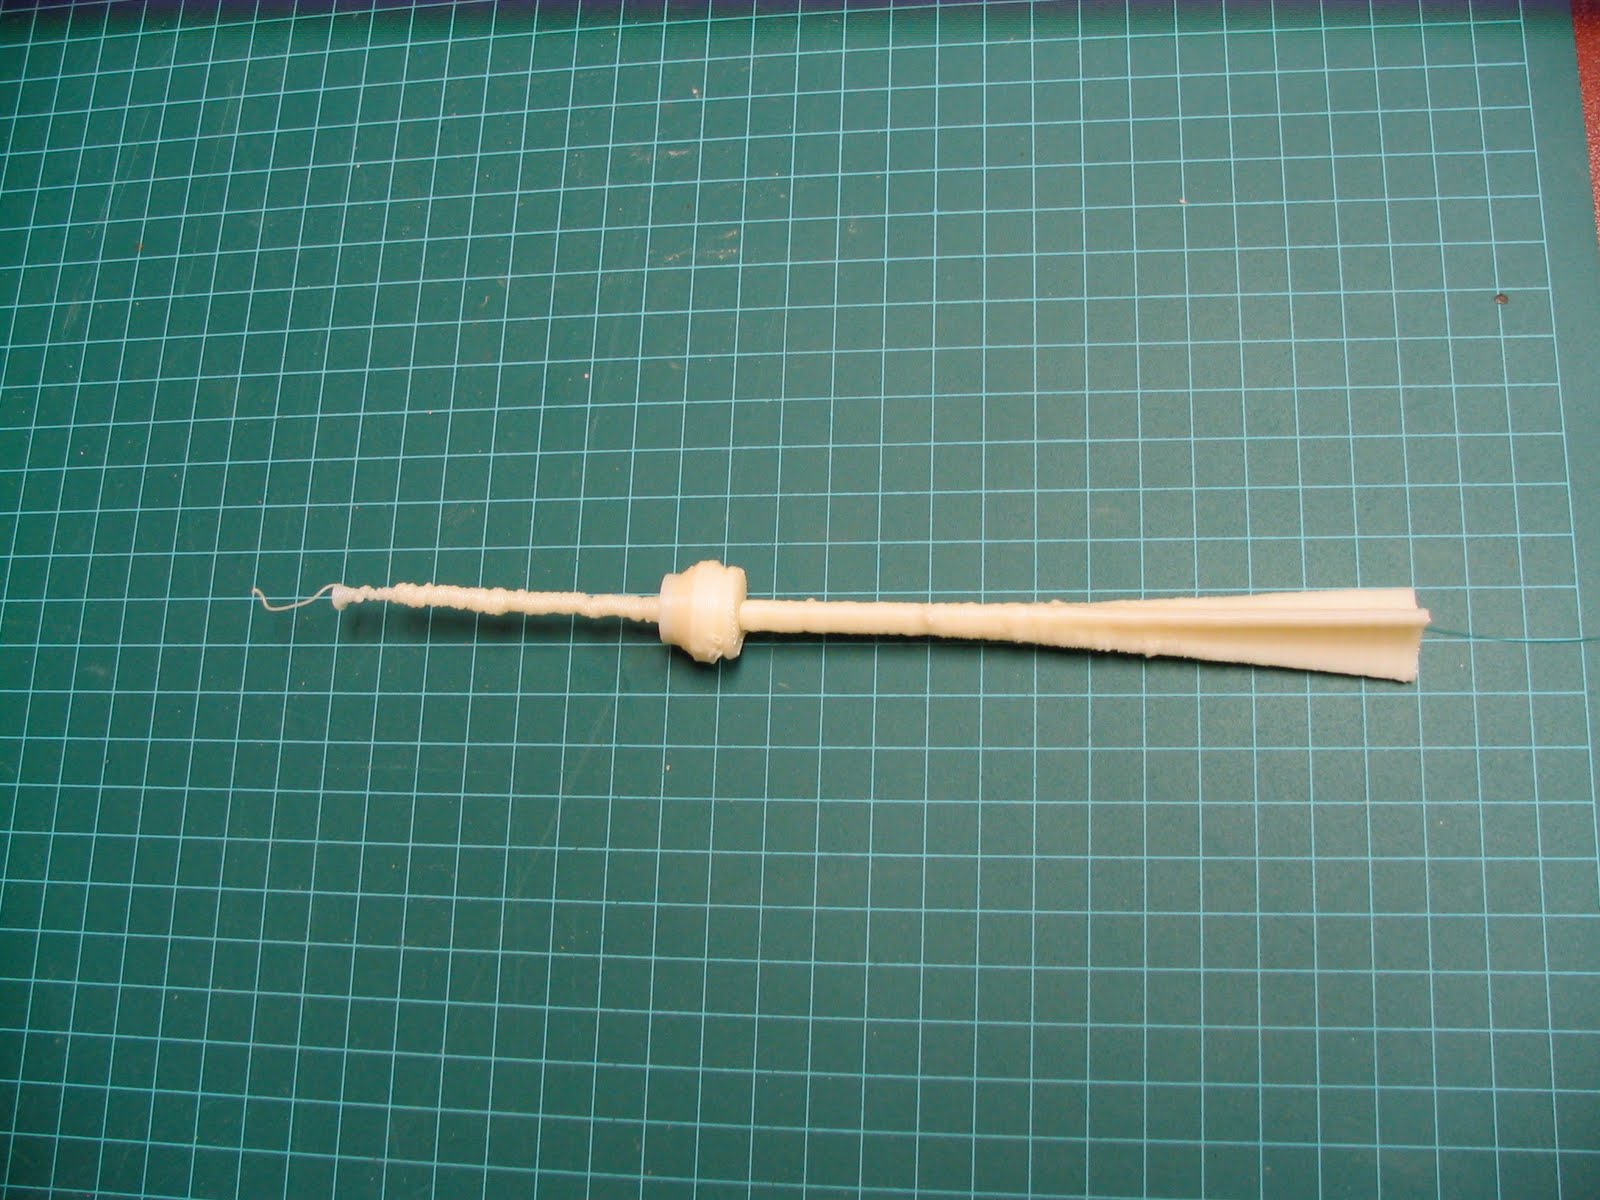 I posted the files to Thingiverse in case anyone else wants to try it. There, others can change the files to suit their needs, or make changes to try make a better print. It's been downloaded a number of times, but I don't know if anyone else has tried printing it. A couple of users liked it, though.
User generated repositories of 3D models are great resources for fabrication. Many models are out there at sites like Thingiverse or Google's 3D Warehouse. What types of things can humanities scholars contribute to these sites? Making data available can allow others to experiment with their models, and play with physical objects related to their research.
As cultural and heritage institutions have directed resources toward the digitization of their collections, perhaps we can try to re-materialize elements of those collections locally for applied research and study. Digitization has often been in the form of digital photographs of objects, but 3D scanning technologies and virtual modeling software has become much more accessible. Hopefully digitization in museums, for instance, will move toward three dimensional digitization, as those forms will inherently record more physical information about objects. Open access to that data would allow researchers to experiment with those forms in a variety of ways, both in virtual and re-materialized physical forms.
Tuesday, May 18, 2010
Making Makerbots
I’ve been fortunate to work with Bill Turkel at his Lab for Humanistic Fabrication over the past few months. In particular, I’ve been building and using a 3D printer to explore how making things can complement my research. I’m working there over the summer, and will update some of what I have been doing on my blog.
To begin with, here’s the 3D printer I’ve been using. It’s a Makerbot (#363). Fancier commercial 3D printers are available, but are still relatively expensive compared to the Makerbot. The caveat to purchasing a Makerbot, though, is that you have to build it yourself.
That might sound daunting, but the folks at Makerbot Industries have created a well-designed machine, and their wiki provides excellent build instructions. The deluxe kit has everything you need to put one together – materials and tools – and I got the whole thing together in a few days of focused assembly.
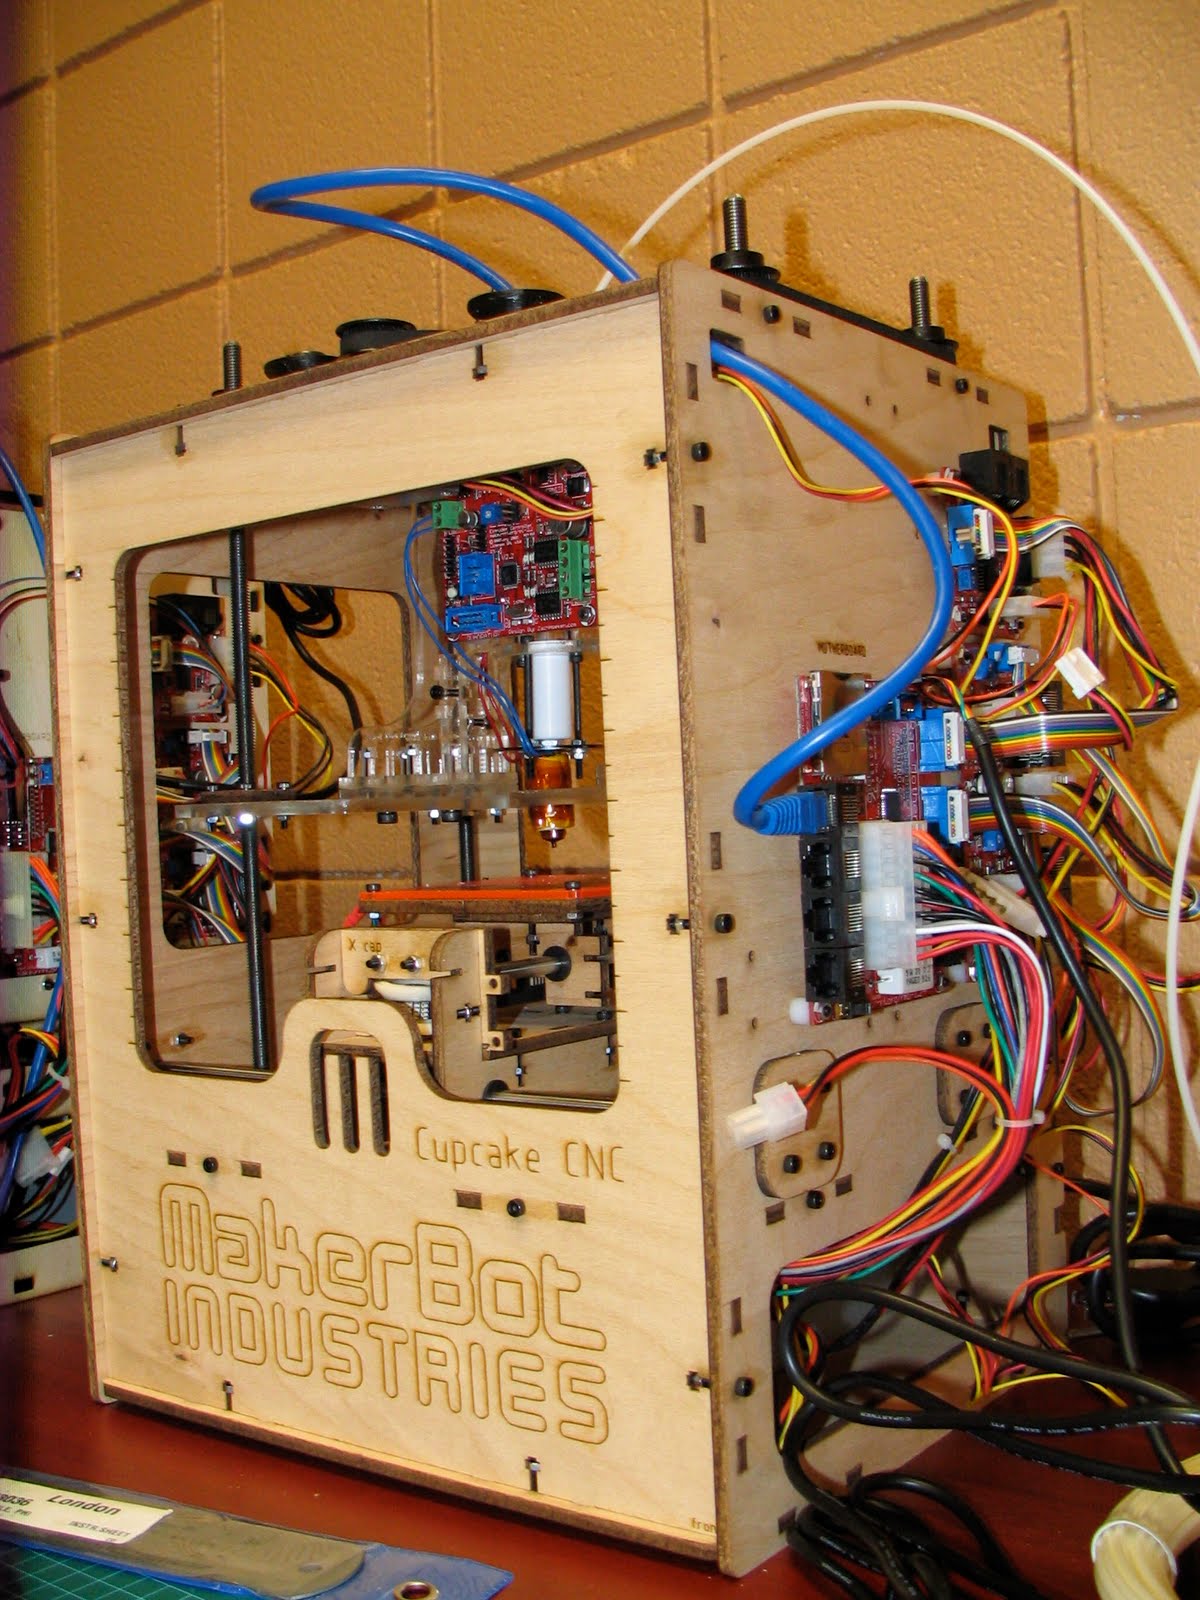
Plastic filament (it’s like a cord of plastic 2-3 mm in diameter) goes into the top of the extruder, a motor controlled by the computer feeds it downward into a tube that is heated under the control of the computer. The tube is heated to the melting point of the plastic, and the feed forces it out a very small nozzle at the end of the extruder. The plastic is piped out in a very thin stream that immediately begins to cool and harden.
The final print is limited in dimensions to roughly 100mm x 100mm x 130mm (4” x 4” x 6”). It is built from the bottom of the platform up, one layer at a time. The size limitations mean that any larger objects will have to be divided into smaller pieces, and those pieces assembled after they are printed.
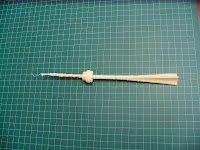
I downloaded the file, warmed up the Makerbot, and hit the build button. It didn’t work right off the bat. I had to adjust the start height a couple of times in order to get the raft to stick to the build platform. A raft is a series of plastic strips printed to use as a uniform base for the object. Once the raft stuck, the piece built up for about half-an-hour until the whistle was finished.
After removing the piece from the build platform, the raft snapped off easily from the whistle. It looked good, with only a bit of plastic trailing on the end that need to be trimmed off. It even whistled!
This initial test confirmed that the printer was working. The functioning whistle added a fun sonic experience to the results. If it can make a 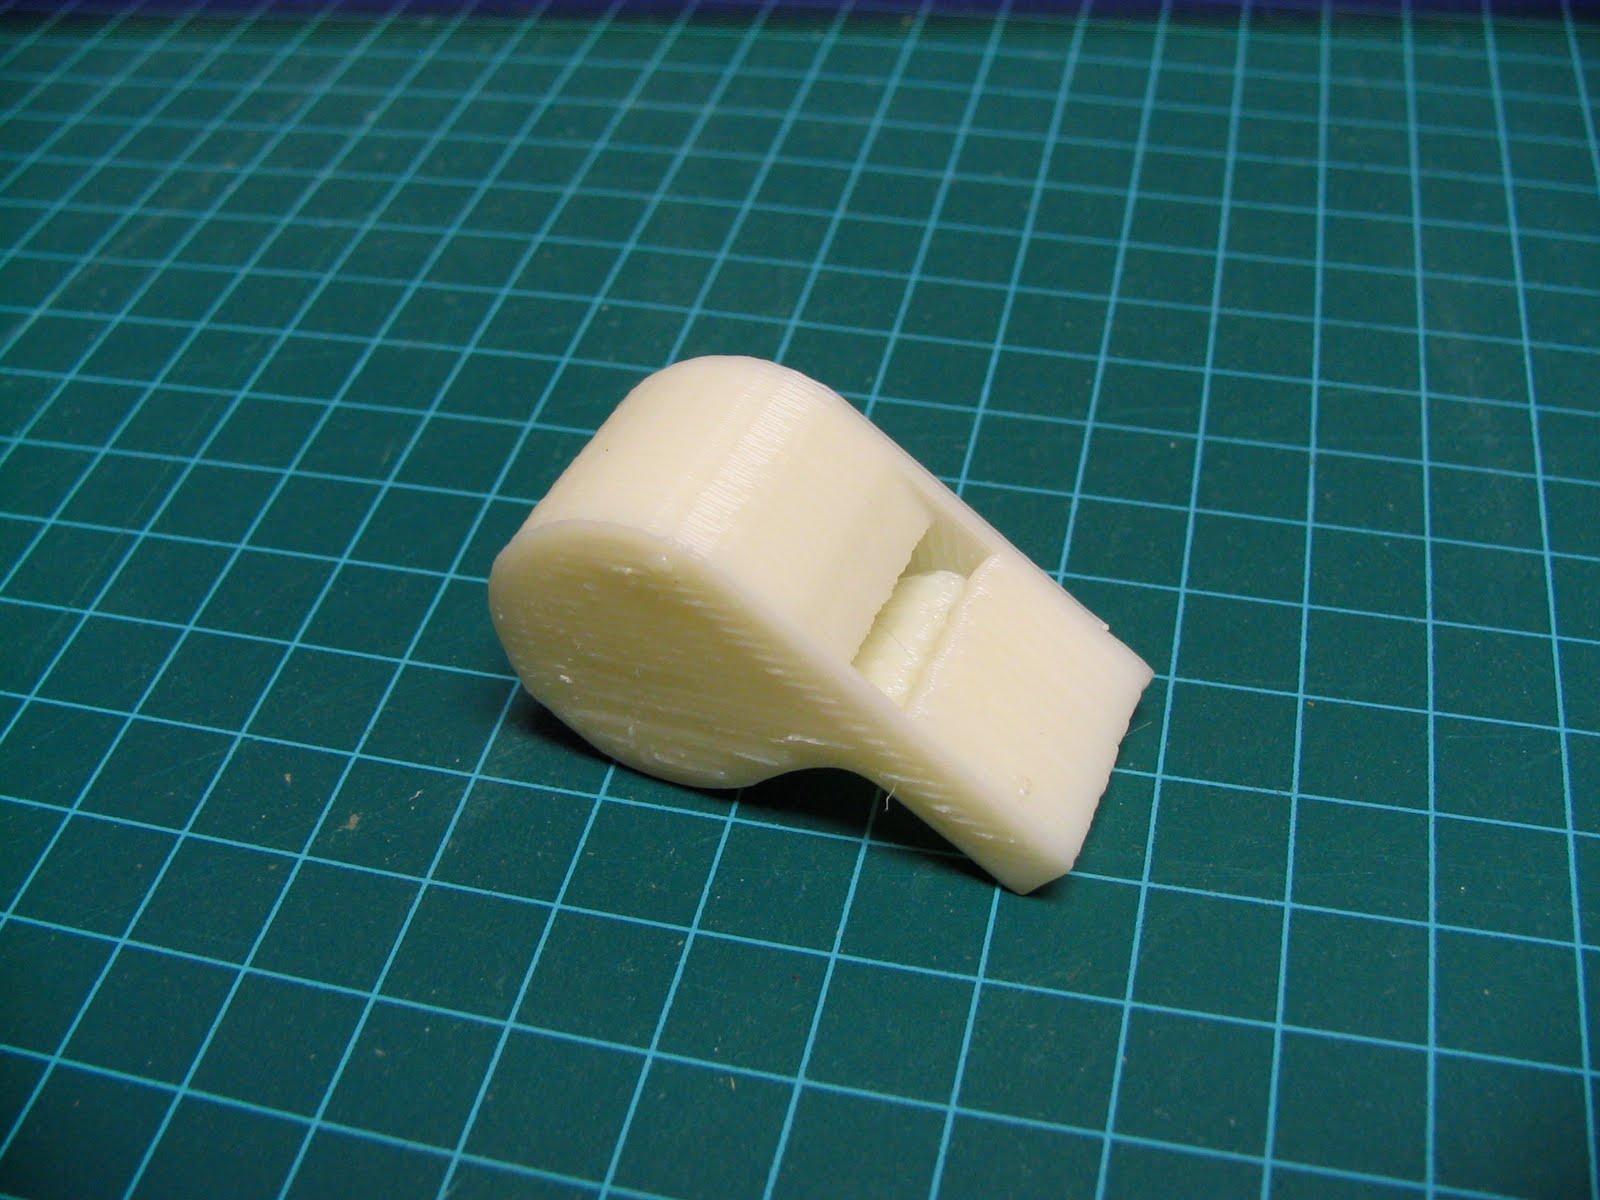 whistle, are there other noise-makers that could be made? Maybe some small instruments, like some old ocharina designs… Or, maybe some pipes in the style of old Wurlitzers or busker organs… When one of my colleagues saw and tried the whistle, she was reminded of a scene from Jurassic Park where a device replicated the sound a dinosaur made. As personal fabrication becomes more accessible, maybe we’ll be able to make devices that attempt to create a sense of sounds of the past.
Subscribe to:
Posts (Atom)